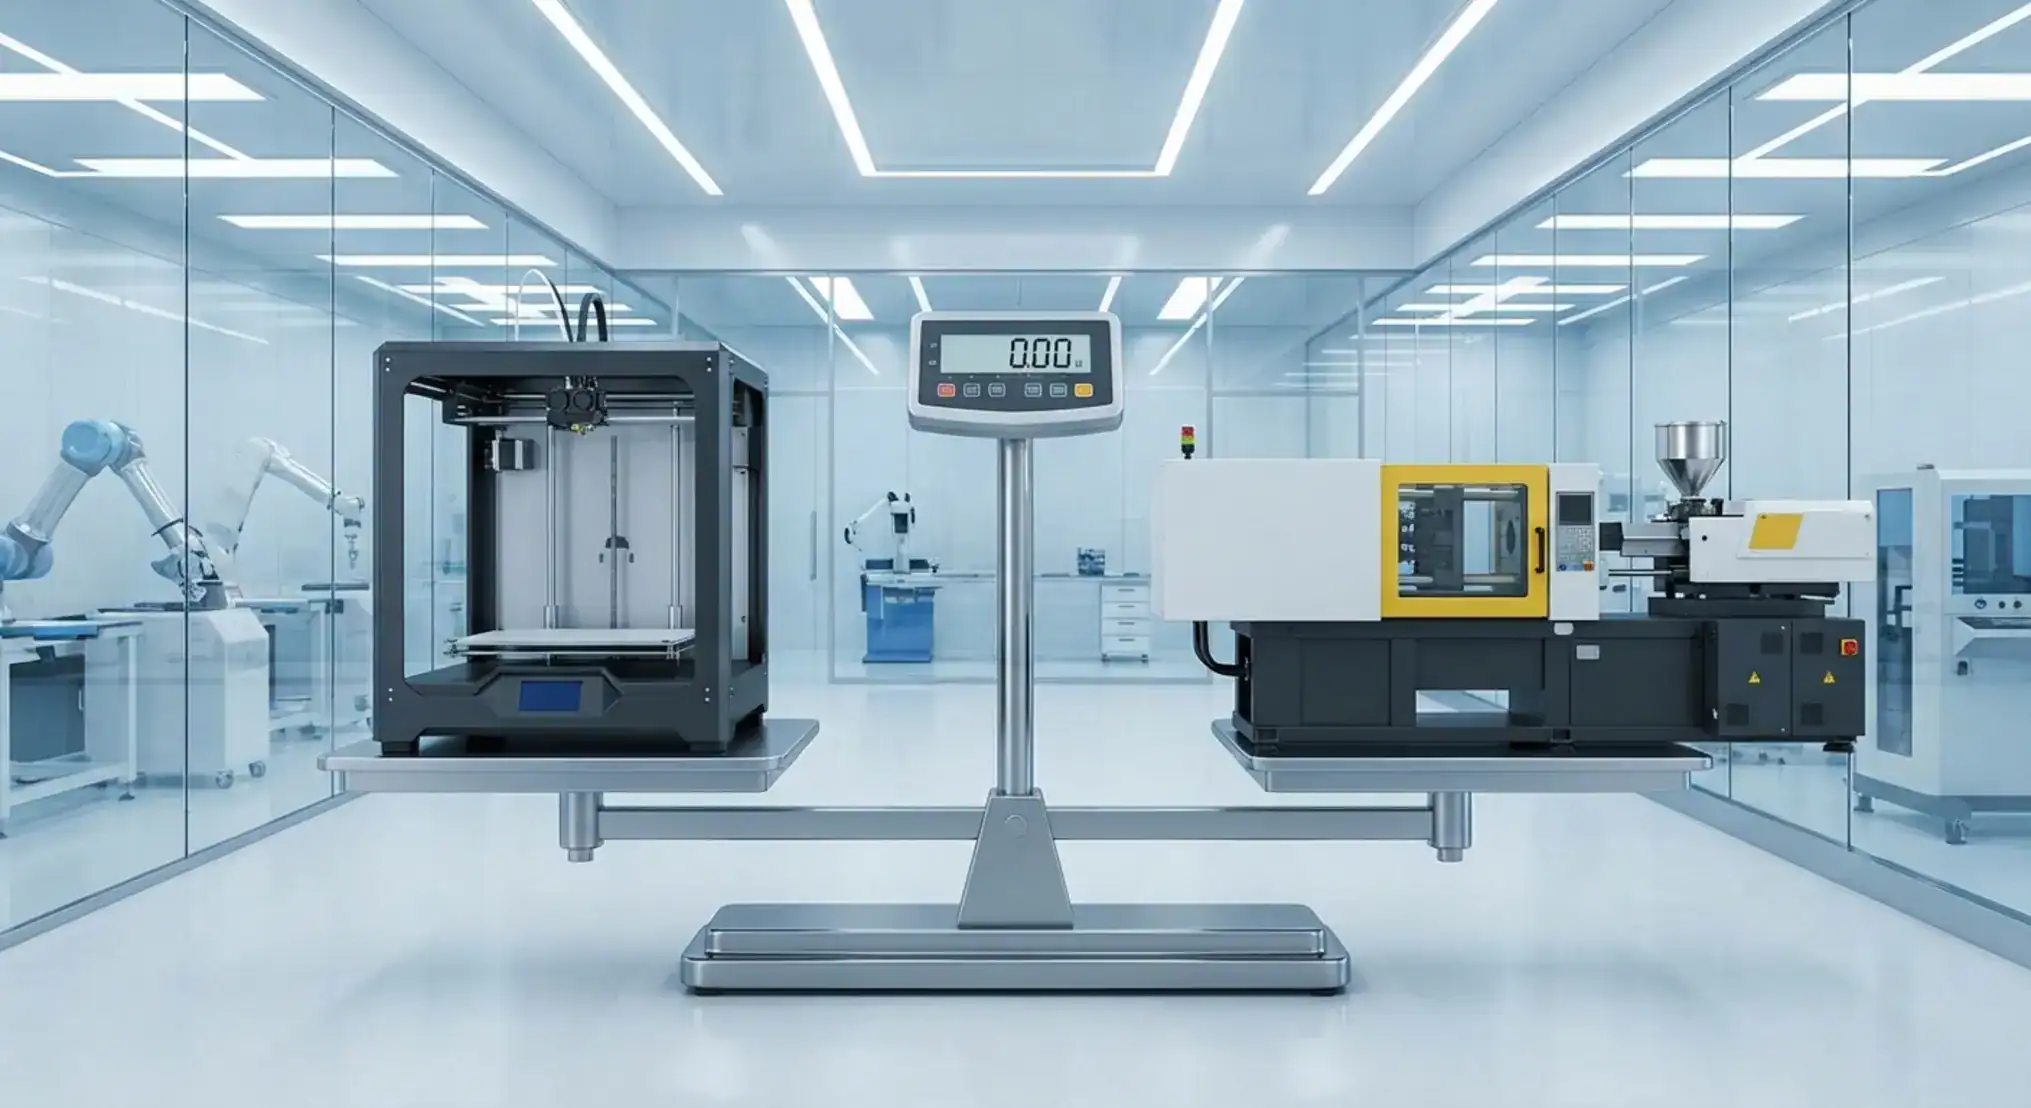
Injection Molding vs. 3D Printing: When Does Mass Production Pay Off?
The economics behind the transition from prototyping to serial manufacturing - and how to find the break-even point.
In Brief
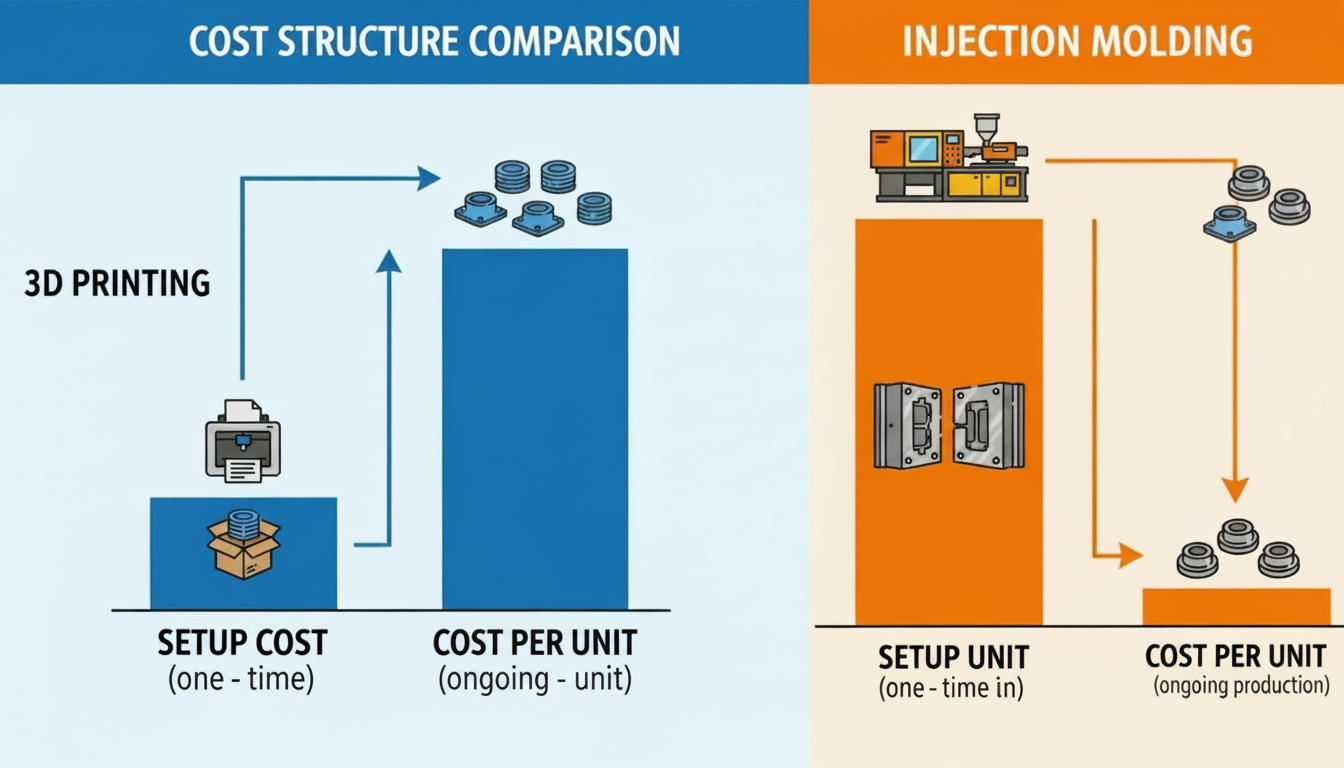
The short answer lies in the ratio between Setup Cost and Marginal Cost per unit. 3D printing has virtually zero setup costs but high and constant per-unit production costs, making it ideal for small runs (dozens to a few hundred). In contrast, injection molding requires a very high upfront investment in tooling (CapEx), but dramatically reduces the per-unit price as volume grows.
The economic break-even point - the moment it pays to switch to injection - typically falls in the range of 500 to 2,000 units, depending on part geometry, size, and material. Beyond the financial consideration, the transition to injection becomes essential when tight tolerances, smooth surface finishes, and uniform mechanical properties (independent of print direction) are required.
Two Technologies, Two Manufacturing Philosophies
To make an informed decision, you must first understand the fundamental difference in approach between these two methods.
3D printing (Additive Manufacturing) is a process of adding material layer by layer. This means the time to produce one part is essentially the same as producing the 1,000th part (cumulatively). There is no significant economy of scale.
Injection molding, on the other hand, is based on forcing molten material under high pressure into a steel or aluminum mold. Here, most of the effort and money are invested before the first part is produced. Once the mold is ready, producing an additional part takes only seconds.
The Economics of 3D Printing
The clear advantage of 3D printing is the absence of fixed costs (Non-Recurring Engineering - NRE). There's no need to machine a mold, no complex machine setup, and the digital file can be changed between prints at no extra cost.
However, variable costs are high:
- Machine time: Printing a complex part can take hours.
- Raw material: Printing materials (filaments or resins) are significantly more expensive gram-for-gram compared to industrial plastic pellets.
- Post-processing: Printed parts typically require support removal, sanding, or manual painting.
The Economics of Injection Molding
In injection molding, the entrepreneur must pay an "entry fee." Mold costs can range from $3,000 for a simple, small mold (typically in China) to $50,000 or more for complex molds with sliders and sophisticated cooling.
But once the mold exists:
- Raw material: Very cheap (a few dollars per kilogram).
- Cycle time: Parts are produced in seconds (15 - 60 second cycle time).
- Automation: The process requires virtually no human touch after the initial setup.
Analysis Break-Even
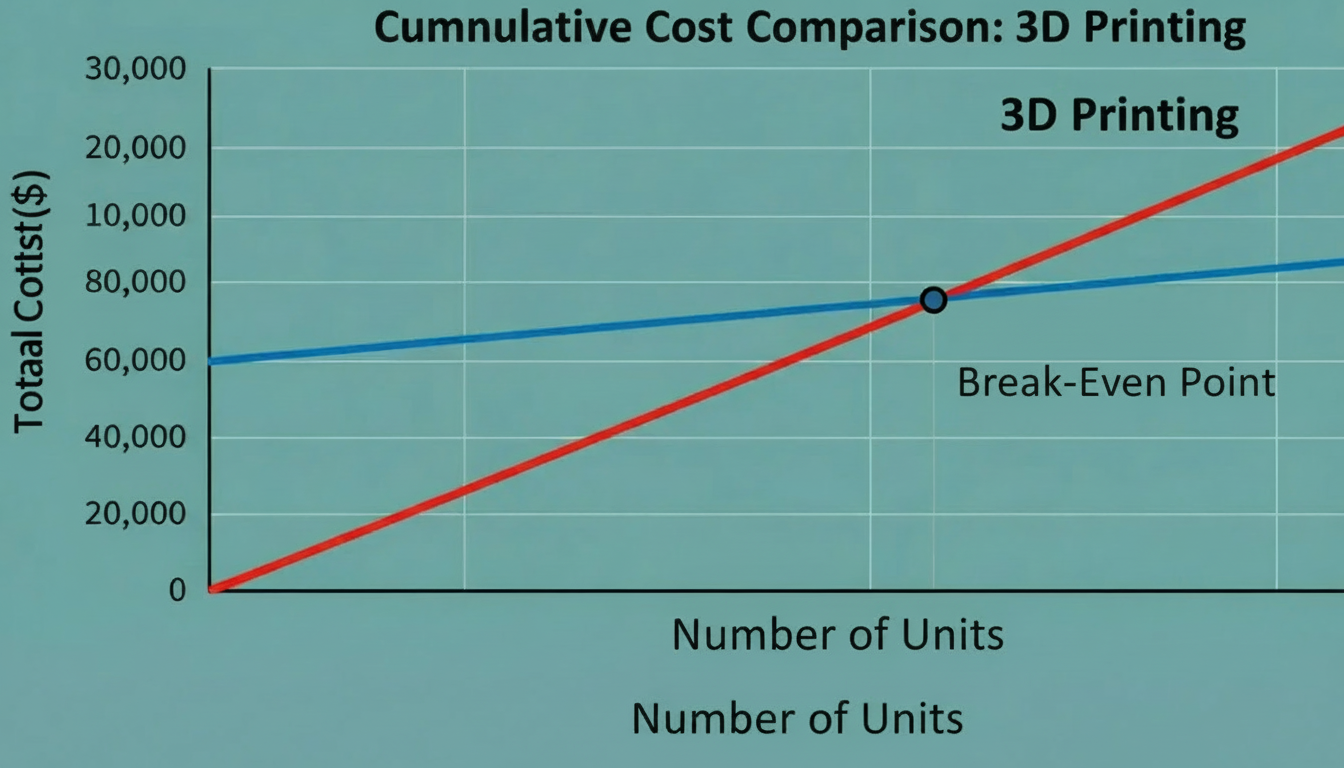
The break-even point is the quantity (Q) at which the total cost of 3D printing equals the total cost of injection molding. Beyond this point, injection becomes more economical.
The simplified formula is: Q = (Mold Cost) / (Per-unit price in 3D printing - Per-unit price in injection molding)
Realistic numerical example: Let's say we're developing an enclosure for a new IoT device. 3D printing (SLS): $20/unit, no mold cost. Injection molding: $12,000 mold cost, $1.50/unit. The saving per unit by switching to injection is $18.50 ($20 minus $1.50). To recoup the mold investment ($12,000), divide by the per-unit saving: 12,000 / 18.5 = 648 units.
In this case, if your sales forecast exceeds 650 units, the switch to injection is purely economical. Below that? Better to stay with 3D printing - unless there are technical constraints.
Engineering Considerations Beyond Price
While price is a decisive factor, it's not the only one. Sometimes the switch to injection is recommended even at lower quantities - or staying with 3D printing at higher quantities - due to engineering constraints.
Material Properties
3D printing is anisotropic - the part's strength is not uniform in all directions. The part is typically weaker along the Z-axis (between layers). Injection molded parts are isotropic - with uniform strength in all directions. If your product needs to withstand complex mechanical loads, injection molding is almost always the preferred solution.
Precision and Tolerances
Products designed for precise assembly (snap-fits, sealed threads) require tight tolerances. While advanced printers achieve good accuracy, injection molding delivers far superior repeatability. A deviation of 0.1 mm is common in 3D printing; in injection molding, it's considered a defect.
Surface Finish
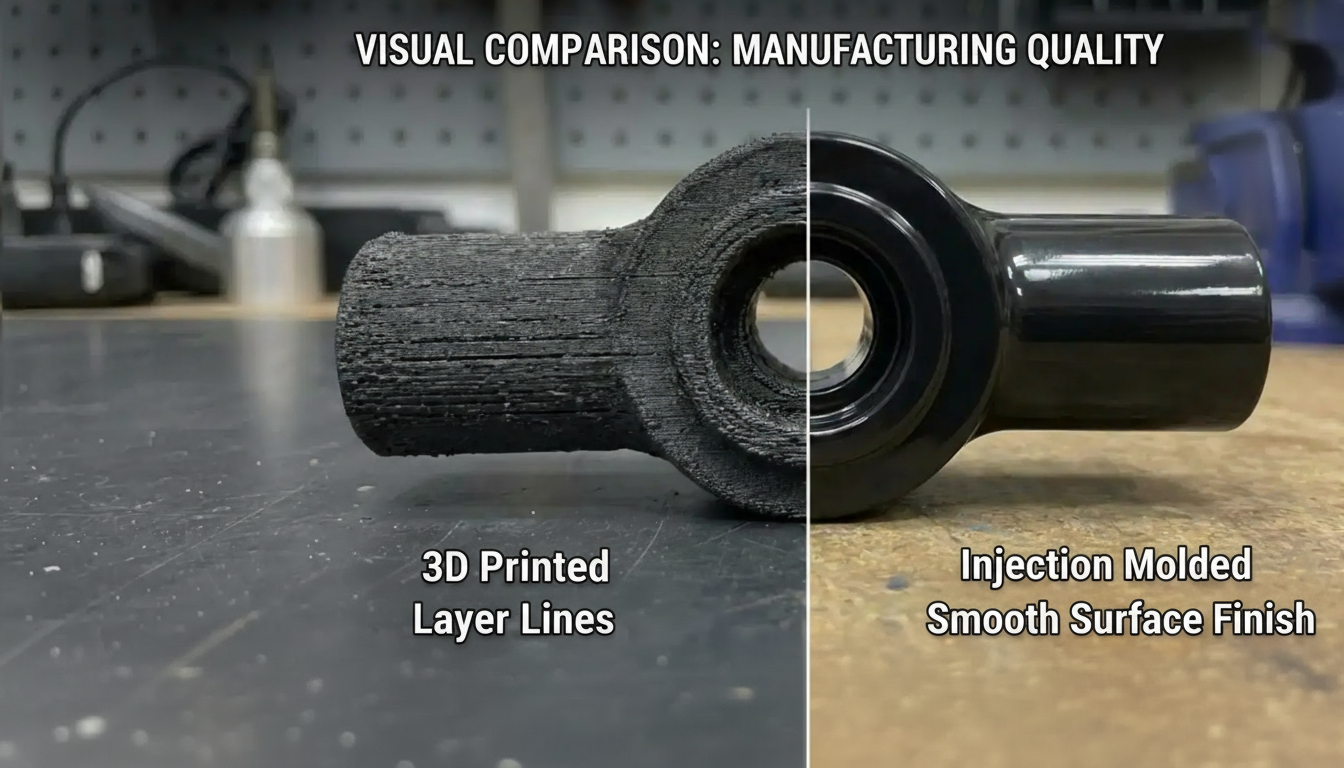
For consumer goods, appearance is critical. 3D printing typically leaves visible layer lines. Achieving a smooth, glossy look comparable to off-the-shelf products requires expensive manual post-processing. Injection molding delivers the desired finish straight from the mold (glossy, matte, or textured).
The DFM Trap: Don't Just Copy the File
A common mistake entrepreneurs make is thinking they can take the STL file used for printing and send it directly for mold manufacturing. This is a recipe for failure. Designing for printing is fundamentally different from designing for injection.
In injection molding, you must account for:
- Draft angles: So the part can be ejected from the mold.
- Uniform wall thickness: To prevent warping and sink marks.
- Gate and parting line locations: Where the plastic enters and where the mold separates.
Bridge Tooling: An Intermediate Solution
What if you need 1,000 units but don't have the budget for an expensive steel mold designed for a million cycles? The solution is "bridge tooling" or "soft tooling" - molds made from aluminum or softer steel.
These molds cost 30% - 50% less than mass-production molds and can produce several thousand to tens of thousands of units at full injection quality. This is an excellent solution for market validation before committing to a heavy investment.
Summary: When to Pull the Trigger
The transition to injection molding is a significant step that reduces long-term risks but increases short-term financial risk. If you're still in the early prototyping stage, stick with 3D printing. But if your sales are stabilizing and the product has received positive market feedback - don't hesitate. The per-unit cost savings will recoup the investment faster than you think, and the improvement in product quality will improve your brand in the eyes of the customer.

Tip From the Experts
Don't rush to manufacture a mold before your design is 100% locked in. Changing a 3D print file costs nothing; modifying an existing injection mold can cost thousands of dollars and delay production by weeks.
Key Takeaways
Break-Even Analysis
Typically 500 - 2,000 units - calculate your exact crossover point using mold cost and per-unit savings.
Economy of Scale
Injection molding costs drop dramatically per unit as volume increases, unlike 3D printing's flat rate.
Material Strength
Injection molded parts are isotropic with uniform strength, while 3D prints are weaker between layers.
Surface Quality
Get glossy, matte, or textured finishes straight from the mold - no post-processing needed.
Bridge Tooling
Soft aluminum molds at 30 - 50% lower cost let you validate the market before full-scale commitment.
DFM is Critical
Never send a 3D print file directly for mold making - redesign for draft angles, wall thickness, and gates.
Frequently Asked Questions
Can I use the same CAD file from 3D printing for injection molding?
In the vast majority of cases - no. A file designed for printing doesn't account for injection constraints like draft angles, uniform wall thickness, and undercut prevention. Sending a 3D print file for mold manufacturing will result in a mold that either can't eject the part or produces defective products. Engineering adaptation (DFM) is required before making the switch.
How much does an injection mold cost on average?
The range is very wide and depends on part size and complexity. A simple mold for a small part without moving mechanisms can cost between $2,000 and $5,000. Complex molds for large parts, or multi-cavity molds for mass production, can reach $20,000 or even $100,000.
Will 3D printing ever be cheaper than injection molding for mass production?
The technology is constantly advancing and material costs are dropping, but the physics gap remains. Injection molding's ability to produce a part in seconds is hard to replicate with printing that takes minutes or hours. However, for products requiring mass customization (like hearing aids or orthotics), 3D printing is already the economically sound solution even in mass production.
What is a family mold and does it save money?
A family mold is a single mold containing cavities for multiple different parts of the same product (e.g., the top and bottom halves of an enclosure in one mold). It significantly saves on setup costs (you pay for one mold base), but it makes controlling the injection process harder if the parts differ substantially in size. It's an excellent solution for medium-volume runs.
How long does it take to manufacture an injection mold?
The tooling process typically takes 4 to 8 weeks, depending on complexity and manufacturing location. After that, there's a T1 (Test 1) phase - first samples and corrections as needed - which can add another 2 - 3 weeks before final production approval.
Is injection molding only viable for tens of thousands of units?
Not at all. Today, with rapid machining technologies and aluminum molds, injection molding can be economically justified for runs as small as 500 or 1,000 units. This allows entrepreneurs to get a final-quality product in the earliest stages of market entry.